Step 1: Access the Billing section. Hyperlinks provide insights into various invoice metrics sent, unpaid, partially paid, etc.

Step 2: Creating a new invoice is straight forward. First, go to the "Financial"section, and navigate to "Invoice," in the top navbar to initiate a new one. Click on ' Create New Invoice' and you can generate an invoice for an existing client.


Step 3:-New Invoice
- Select customer; relevant details auto-populate.
- Add information such as invoice numbers, creation, and due dates.
- Choose from various options: Bank, PayPal.
- Choose the currency setting.
- admin note

Step 4:
Table Options
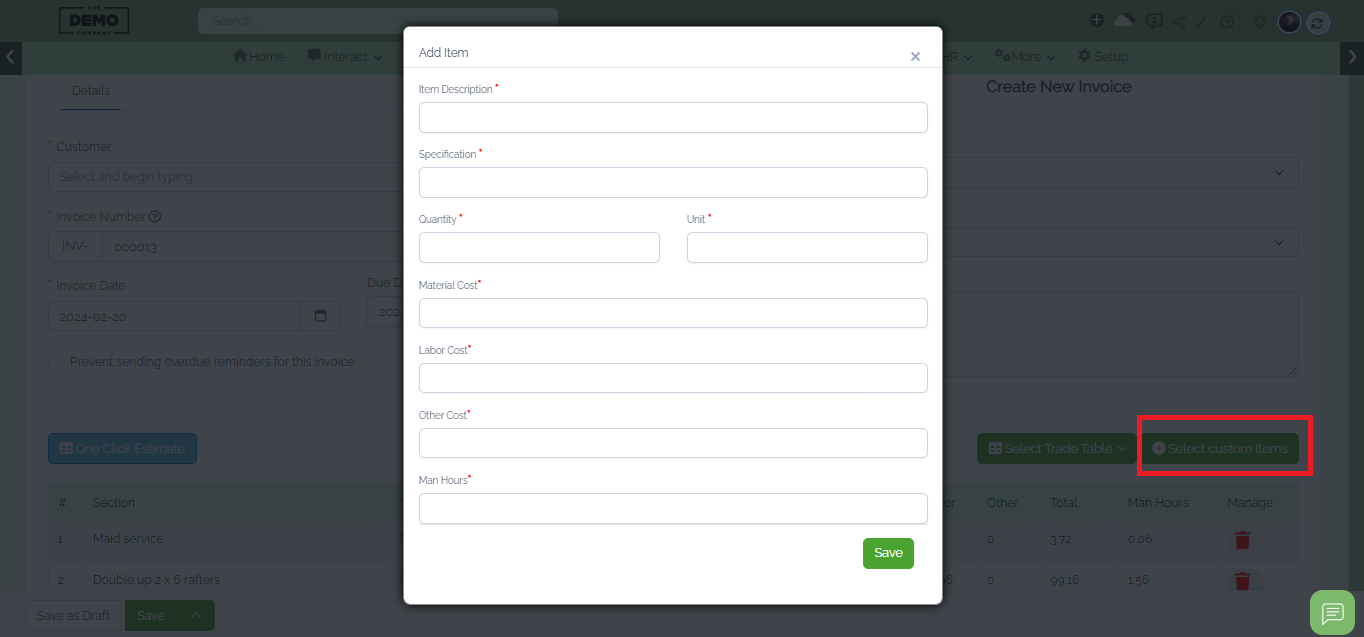
For further customization, utilize the "Add Custom Item" button. This allows you to include personalized items by specifying the item name, quantity, material, labor, and other cost values. This feature provides a comprehensive approach to meeting specific project needs.
- Save as draft or finalize.
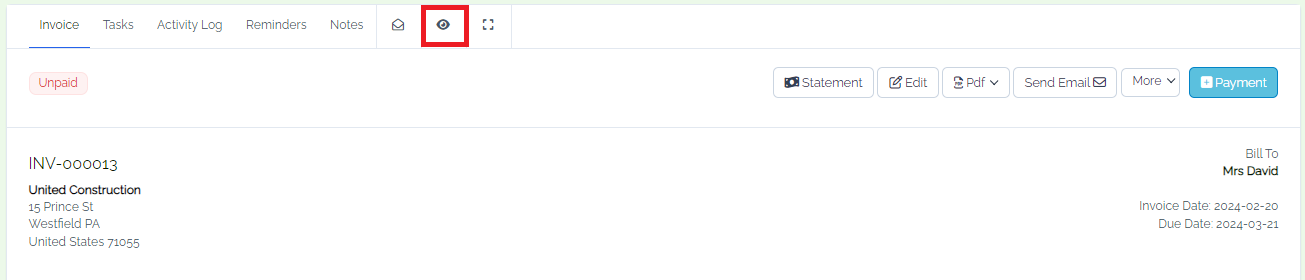
- View as Client' feature for preview
Step 5: Further Management
- Options include invoice, tasks, activity logs, marking invoices, and managing reminders and notes.

Step 6: Incorporating Billable Tasks
-Tracking The module enables users to track the status of invoices, including whether they've been sent, viewed, paid, or are overdue. This helps businesses stay organized and follow up on outstanding payments.
Step 7: Client Portal
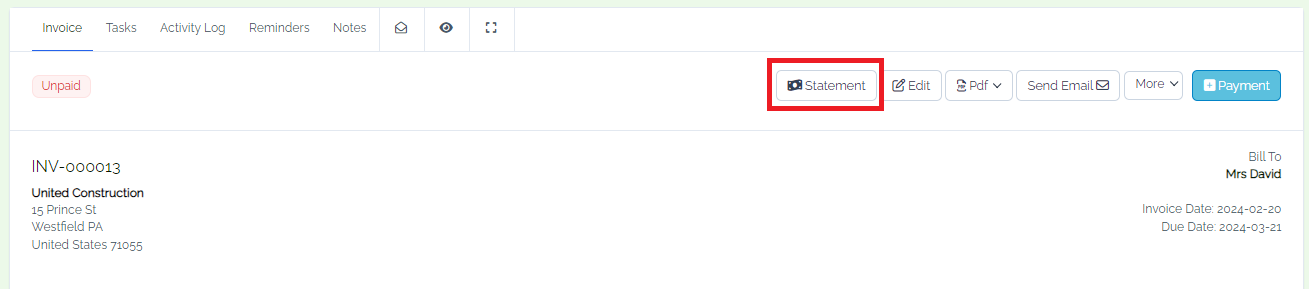
- Allows clients to access statements, review payment statuses, and generate statements for their records.
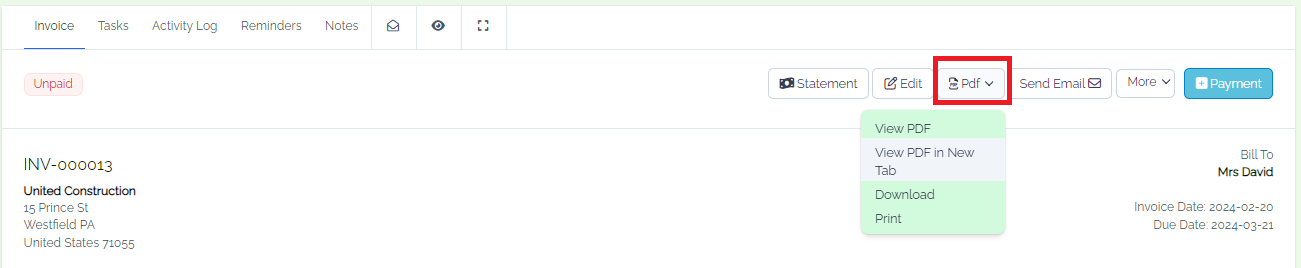
Step 8: Professional Touch - In addition to reinforcing your brand identity through the inclusion of your logo and branding details on the invoice, the module also offers the capability to save the invoice in PDF format.
 Contractorsly
 Allbookkeepingandtaxes