Step 1: Creating a new expense is straightforward. First, go to the "Financial" section, and navigate to "Expenses."

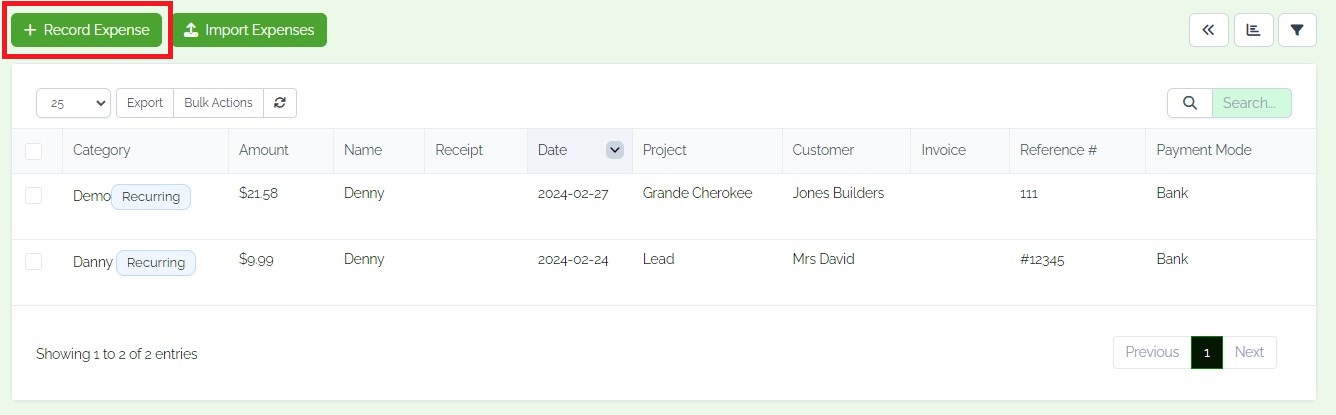
Step 2: We can view, edit and delete customer details on the dashboard. Click on the "Record Expense" and you can generate an expense for an existing client.
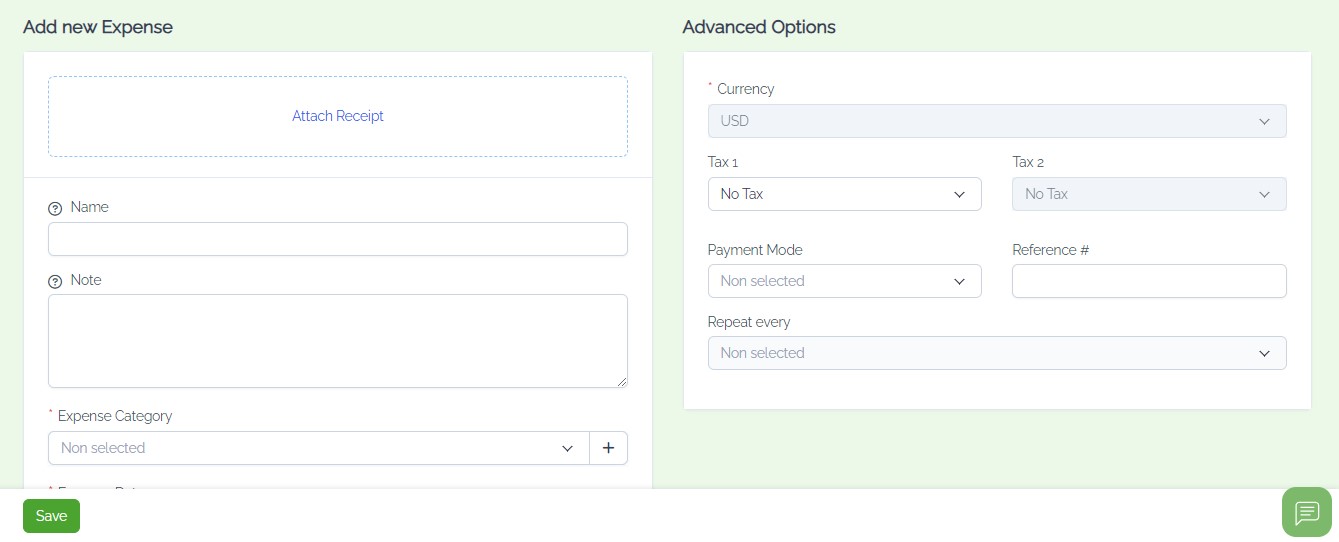
Step 3: The attached receipt feature allows users to upload, share, and organize files within the project. This functionality simplifies document management, promotes version control, and fosters collaboration among team members.
- Name
- Note
- Expense category
- Expense date
- Amount
- Select customer; relevant details auto-populate.
- Choose the currency setting.
- Tax
- Choose from various options: Bank, PayPal.
- Reference
- Repeat every
- Click on the save button.
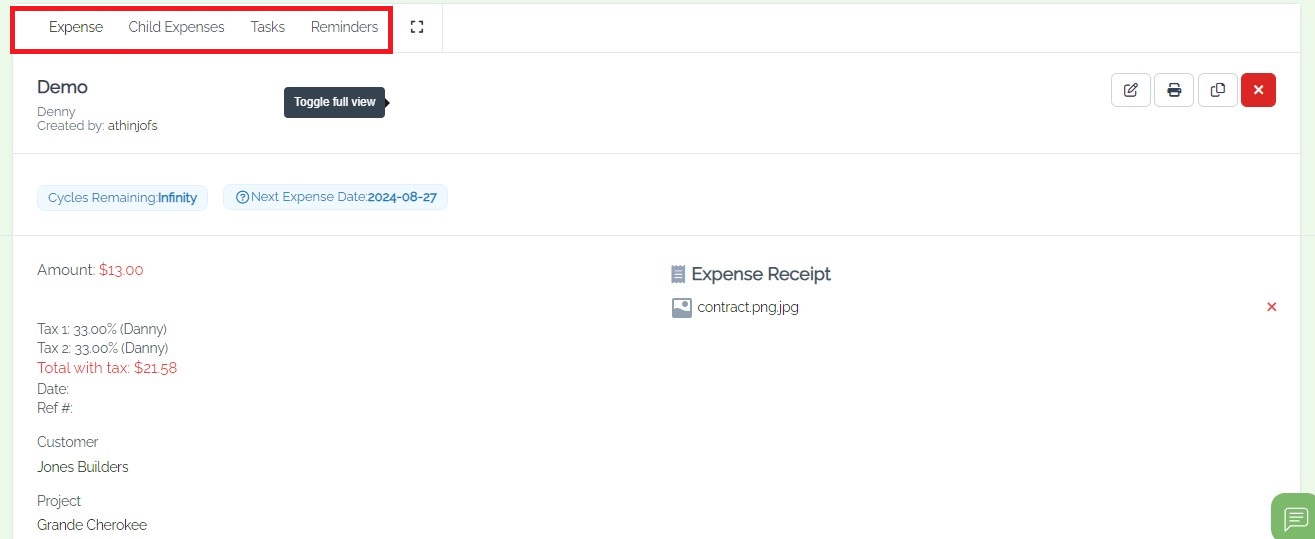
Step 4: Further Management
- Options include expense, child expense, marking expenses, and managing reminders.
- We can edit, copy, print, and delete expenses.
 Contractorsly
 Allbookkeepingandtaxes