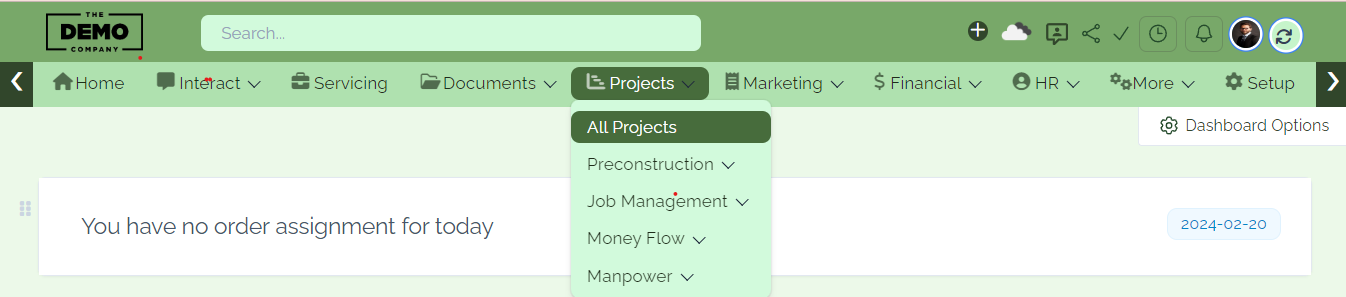
Step 1: Initiating a new project in PnapnaTech is a straightforward procedure designed to enhance your task and project management efficiency within the system. Begin by navigating to the "Projects" section and selecting the "All Projects" subsection.
Step 2: To create a new project, click on "New Project."

Step 3: Enter the project title, select the customer, provide a comprehensive description, and specify the start date and deadline. Once all crucial details have been input, save the project information to ensure seamless record-keeping and management.

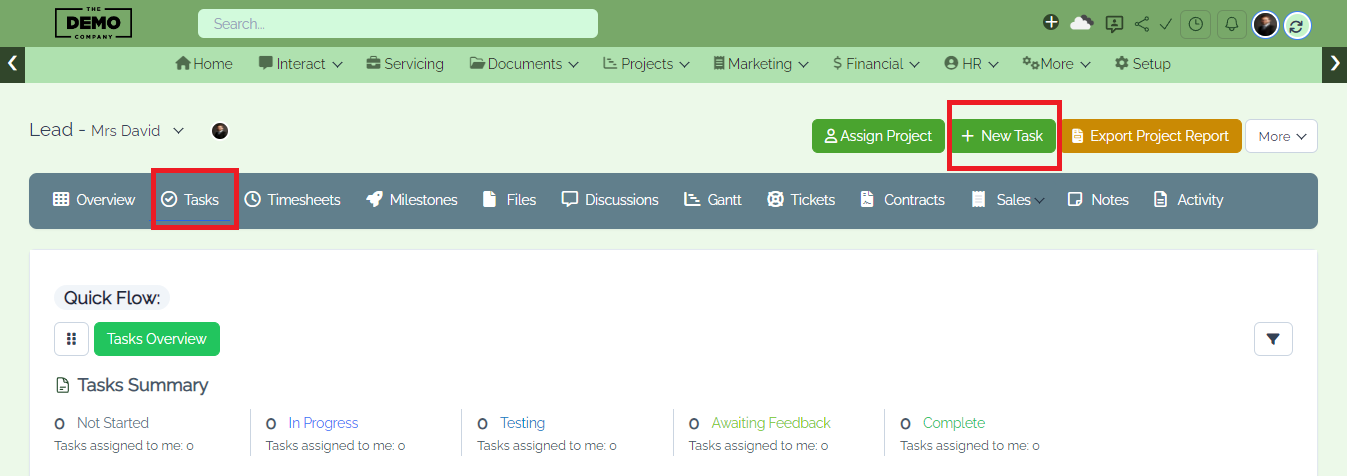
Step 4: The "Tasks" section is where you create, assign, and track individual task that are related to a project. Each task can have a title, description, due date, assigned team member, and status. Users can add new tasks, mark them as complete, set priority levels, and attach files or comments to provide additional details. This section facilitates the granular management of project activities.
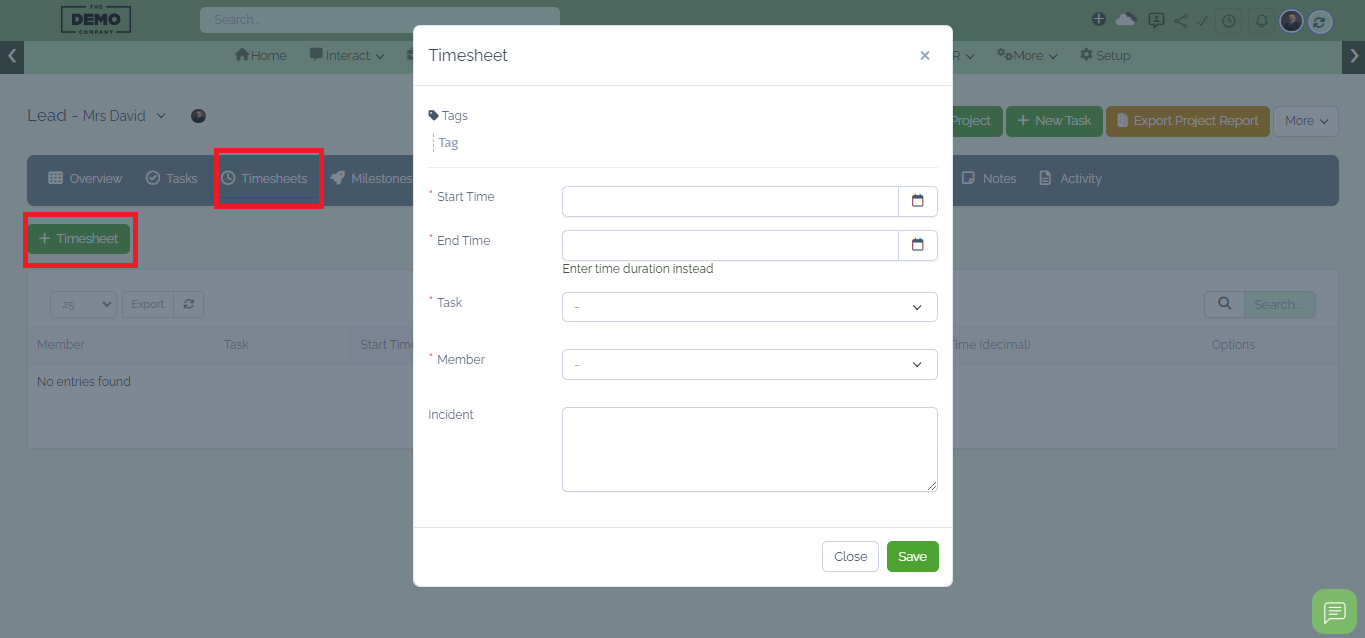
Step 5: The "Timesheet" section allows you to record and track the time spent by team members on specific tasks within a project. Users can log their work hours, add descriptions, and categorize time entries by task.
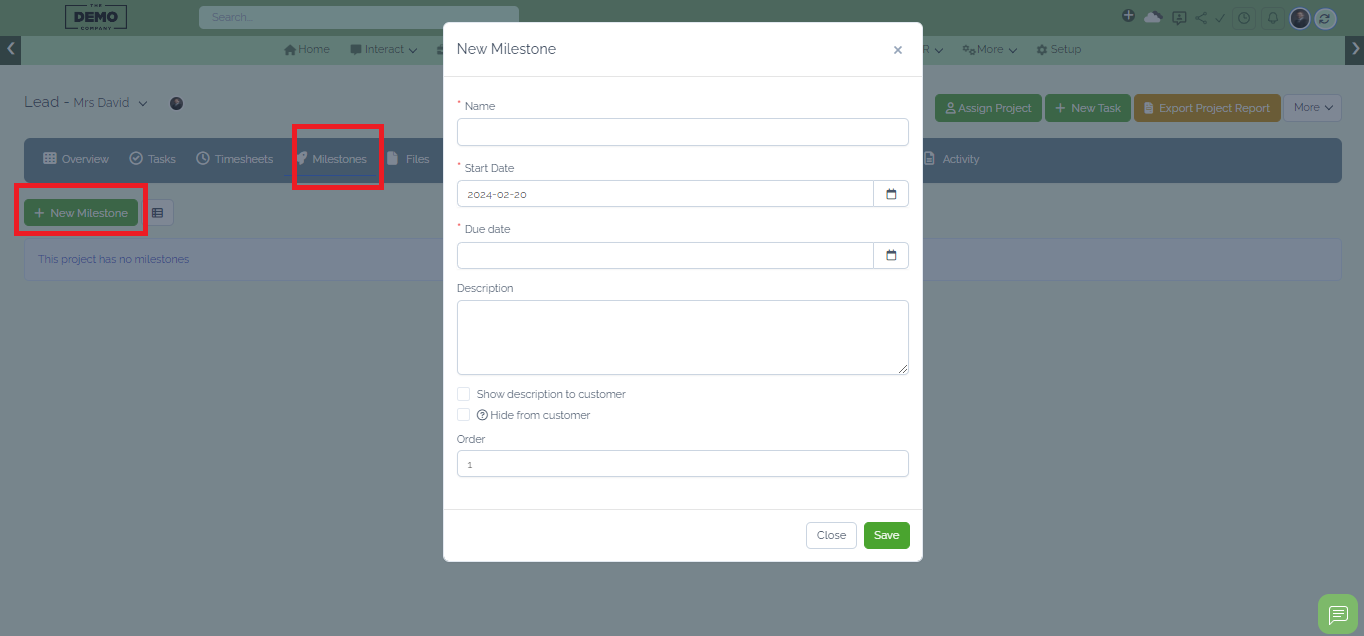
Step 6: "Milestones" represent significant achievements or stages in a project. They serve as markers to track progress and indicate key points in the project timeline. Users can create, edit, and manage milestones, associating them with specific tasks or deadlines.
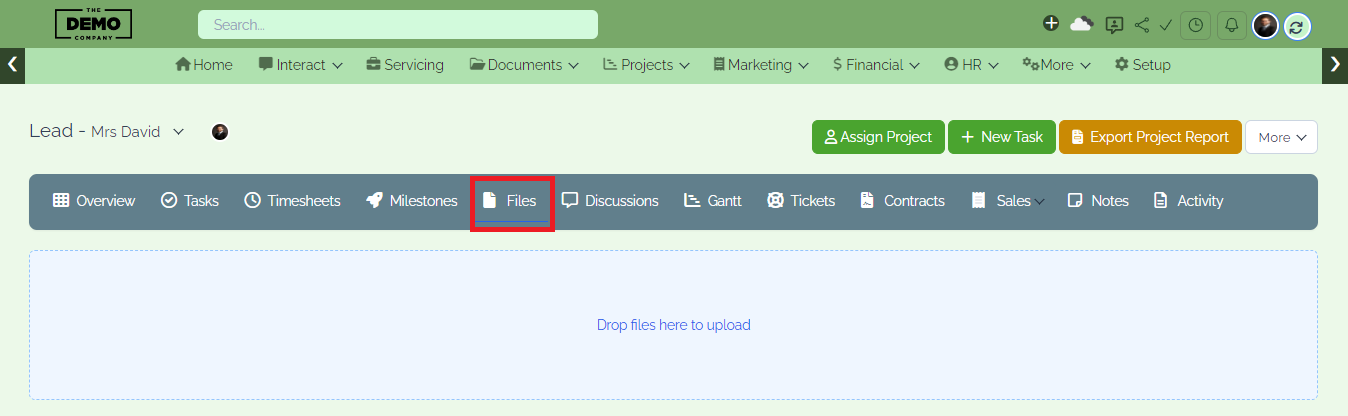
Step 7: The "Files" section is a centralized repository for all project-related documents, ensuring easy access and collaboration. Users can upload, share, and organize files within the project. This feature simplifies document management, encourages version control, and enhances collaboration among team members.
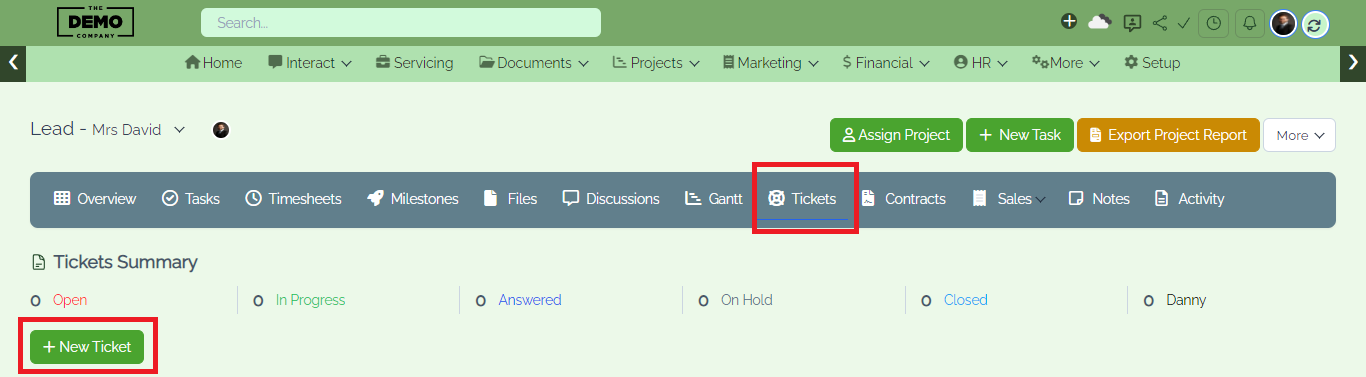
Step 8: The "Tickets" section allows users to create and manage support or issue tickets associated with a project. Users can submit tickets, assign them to team members, and track their resolution status. This feature streamlines communication regarding project-related challenges or requests for assistance.
Step 9: The "Notes" section serves as a space for users to jot down important information, reminders, or observations related to the project. Users can create and organize notes, providing a convenient way to capture thoughts, ideas, or noteworthy details that contribute to project knowledge and continuity.

Step 10: The "Activity" section provides a chronological log of all actions and changes that occur within the project.
Users can review a timeline of project activities, including task updates, file uploads, comments, and more. This feature enhances transparency, allowing team members to stay informed about project developments.
Project expenses encompass labor, materials, and miscellaneous costs. Efficient management ensures accurate budgeting and optimal resource allocation, fostering financial transparency and informed decision-making for project success.
Effortlessly generate and send the final project report to your client, ensuring timely delivery of key project insights and fostering transparency. The report encapsulates achievements, milestones, and relevant data for a comprehensive overview of the project's success.

 Contractorsly
 Allbookkeepingandtaxes